The Best Light Meter App for Photographers in 2024
There’s an incredible amount of choice when it comes to light meter apps for photography, and it’s fair to say that some choices are better than others. So which should you choose?
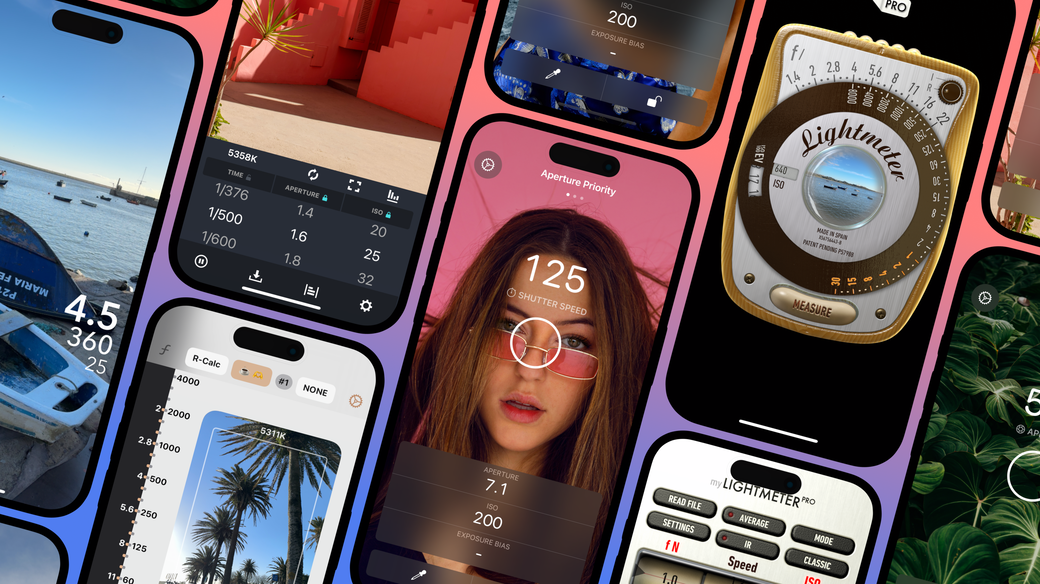
A selection of the many light meter apps available for photographers on the App Store today.
To answer that question, first we’ll explore if a smartphone is capable of metering light accurately at all. Then, we’ll take a look at how it compares to using a dedicated meter. And finally, we’ll apply what we’ve learnt to assess each light meter app individually.
Contents
How Accurate Are Light Meter Apps?
One question I’m often asked is ‘how accurate can a light meter app be anyway?’ And the answer is that a light meter app on your phone can be at least as accurate as a dedicated device – and in many ways it’s even more capable. But like anything, it’s important to understand where the relative strengths and weaknesses lie.
The optics and computing power available on today’s smartphones are nothing short of phenomenal. You already hold in your hand a device that the technology giants have invested billions of research and development dollars into – you may as well make the most of it!
Where Light Meter Apps Shine
The secret to great exposures with a light meter app lies in harnessing the device’s strengths. And one of your smartphone’s biggest strengths is its exposure algorithm.
Remember, smartphone manufacturers are at a distinct space disadvantage when compared to traditional camera manufacturers. Fundamentally, the physics of light make it impossible to achieve the same performance characteristics as bigger lenses and sensors, and yet each year smartphone cameras get better and better results. So, how do they do it?
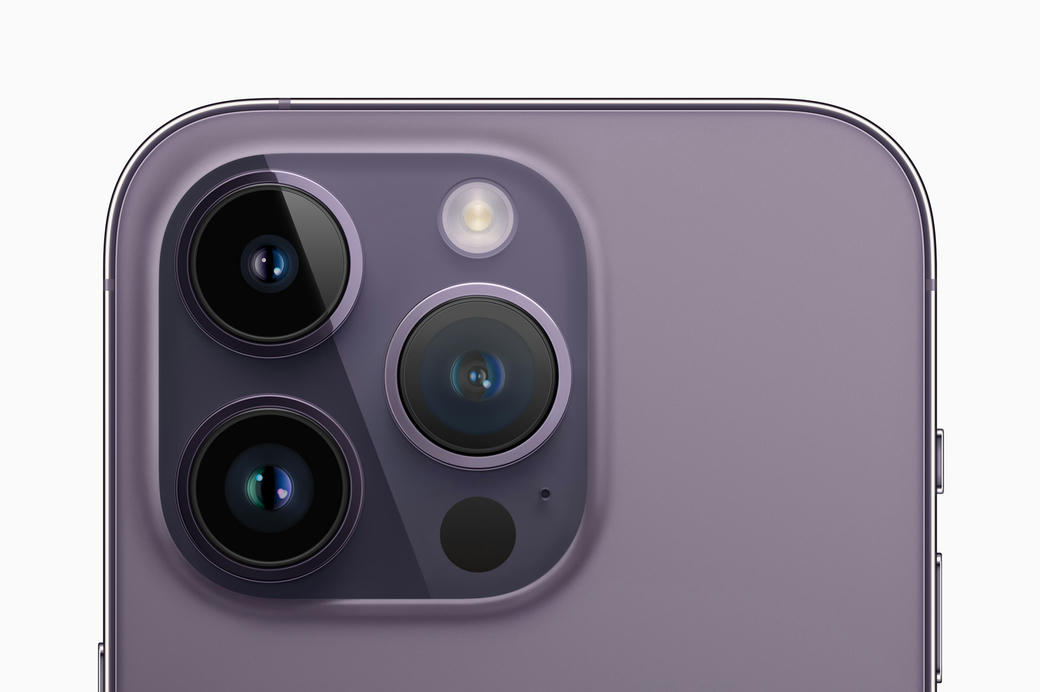
Camera on the iPhone 14 Pro Max. Image: Apple
A big part of it is software. Nowadays, a modern evaluative exposure algorithm does so much more than average a few spots of light. A modern evaluative exposure algorithm is able to assess a scene in real time to detect faces and specific skin tones, recognise backlighting, determine if the scene is indoors or outdoors and more.
It does this by using machine learning algorithms trained on millions of images to identify and recognise objects and patterns in a scene, constantly adjusting exposure to achieve a perfect balance. No easy feat.
Luckily for us, thanks to standardization, we can leverage these algorithms in order to set the exposure values for the rest of our photographic equipment. Truly, it’s the best of both worlds. The simplicity of digital, with the unassailable personality of film.
When Not to Use a Light Meter App
That’s not to say that there aren’t certain use cases for which a dedicated device might be a better choice.
For example, a Light Meter app can’t replicate the functionality of a Flash Meter – the latency of the optical sensor makes it impossible to get a usable reading in the short window of time the photons of a flash gun remain in-flight.
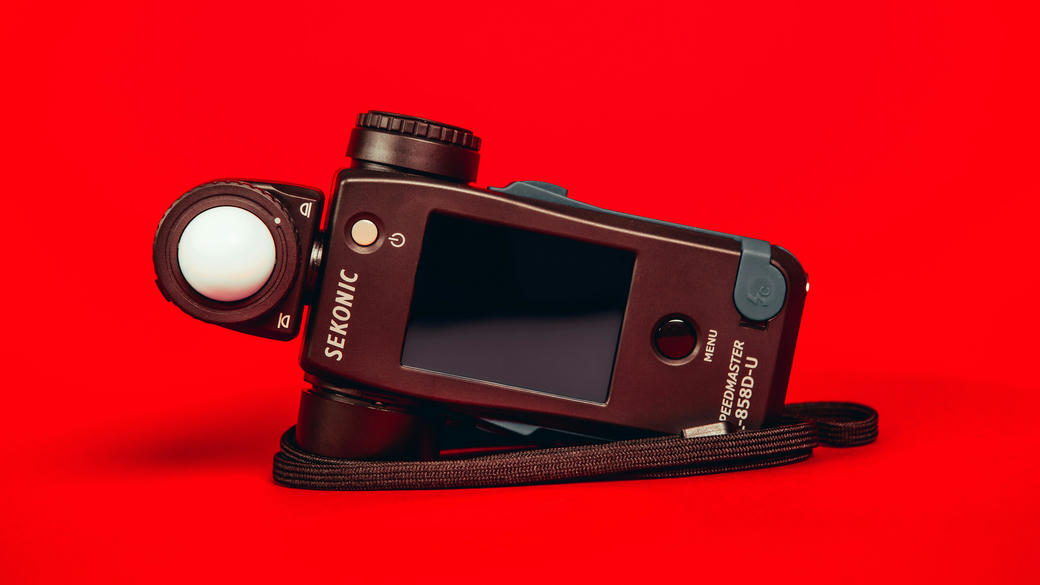
A dedicated meter is still the best choice for incidental metering. Image: Billy Freeman
Nor is it possible to take incidental readings with any great accuracy. For one thing, your device’s lens is designed to take reflective readings.
While it can be tempting to strap on an after-market diffuser or fashion one out of paper, be aware that the margin of error can be significant. Cameras vary between device models and iterations, and so without calibration to account for these differences a diffuser can’t be relied upon to produce an accurate reading.
At first glance, a spot-meter might seem the most similar to a light meter app, but even here there are subtle differences. A traditional spot meter will attempt to meter for middle grey, but if you attempt to do the same thing on-device, by the time your device has done its work to create the best possible on-device preview, the video output is no longer useful for extrapolating a reliable reading.
In my experiments, these methods can result in errors of two or more stops. Therefore, take any readings from apps which offer these metering modes with caution.
How to Use a Light Meter App for Photography
Using a well-designed light meter app is notable for its simplicity. Unlike with a dedicated light meter where you have no preview of how an exposure might look, a light meter app provides a video preview interface that allows you to quickly assess overall exposure levels.
Generally, if you can see detail in the in-app preview, you should find that you can capture that detail in the final exposure too.
The caveat to this is that in low-light conditions the video preview may appear under-exposed. This is caused by the device attempting to maintain a stable video frame rate in poor lighting conditions.
However, this doesn’t mean that the readings are unusable. In our experience, the readings will continue to be accurate at impressively low levels of light. Experiementation is recommended in order to get a feel for the limits of your particular device.
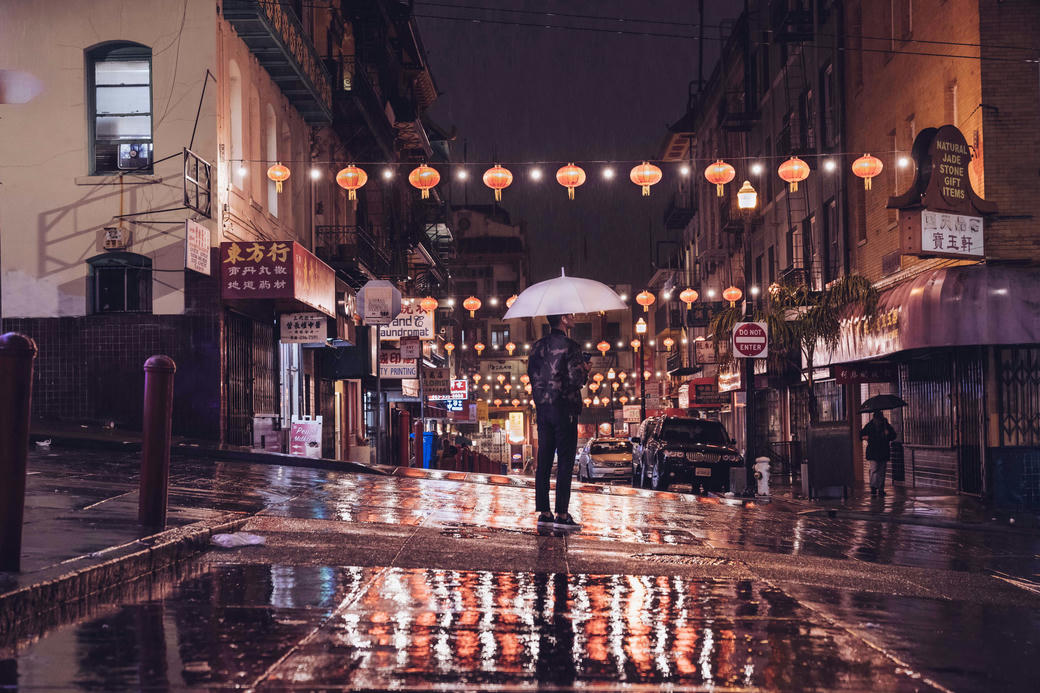
A light meter app will give you confidence in varied lighting conditions. Image: Edgar Chaparro
The process of metering with a light meter app is as follows:
- Point your device’s camera at the subject you wish to photograph. Your light meter app should show a video preview on screen. Once you are happy with how the subject is exposed, you can tap the lock button (sometimes called the measure button). Your light meter is now locked to the light level of the scene.
- You can now select the ISO level. You must ensure that the value that you dial-in to the meter matches the rated value of the film that’s in your camera. This is usually printed on the side of each roll of film, or alternatively on the box that it came in – 100, 200, 400 and 800 are all typical values you may encounter.
- Your meter should already be displaying aperture and shutter speed values with which you can set your lens and camera. However, if you want to avoid motion blur, increase depth of field, or just want a bit more creative control, you can adjust to your preferred exposure settings now. A good meter will automatically adjust the other values to ensure the exposure triangle of ISO, aperture and shutter speed remain balanced.
- Input the final values into your camera and lens, point your camera at the subject and release the shutter. Make sure to wind on your film and unlock your meter before returning back to step 1.
Choosing the Right Light Meter App for You
While each light meter app will come with its own approach and unique set of features, there are some elements that are essential for getting the most from your photography. We need to look for apps that are:
- Focused on photography. Light Meter apps for plants won’t display the required photographic units, and hybrid light meters tend to be little more than gimmicks – attempting to serve everyone but satisfying no one.
- Embrace the built-in exposure algorithm of the device. Ironically, apps that attempt to employ custom exposure algorithms (in an attempt to replicate spot or incidental metering behavior of traditional light meters) are often hopelessly inaccurate due to interference from the underlying computational photography pipeline of the device.
- Easy to use. Entering values into your meter should be quick and easy. There should be a large exposure preview area from which it’s possible to get a good idea of the final result.
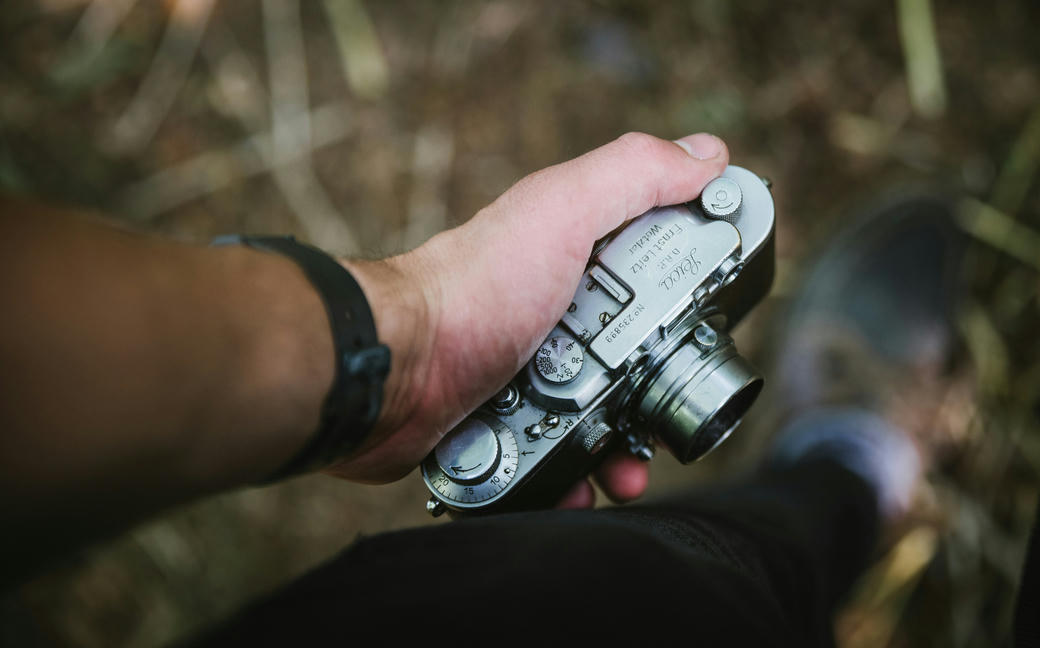
A good light meter app should be a trusted companion: with you at all times, helping you to get the shot. Image: Alexander Andrews
Our Top 5 Light Meter App Picks
For the most part, the following apps fulfil the above criteria, and where exceptions arise I mention them in the review:
Light Meter Ultra
Taking photos with the help of Light Meter Ultra is a genuine pleasure. The big, easy-to-adjust dials on the bottom of the screen click into place as you input your exposure values. The top half of the screen is dedicated to a targeting spot and the primary reading. Switching between aperture and shutter priority modes is achieved with a swift glide of the finger across the screen.
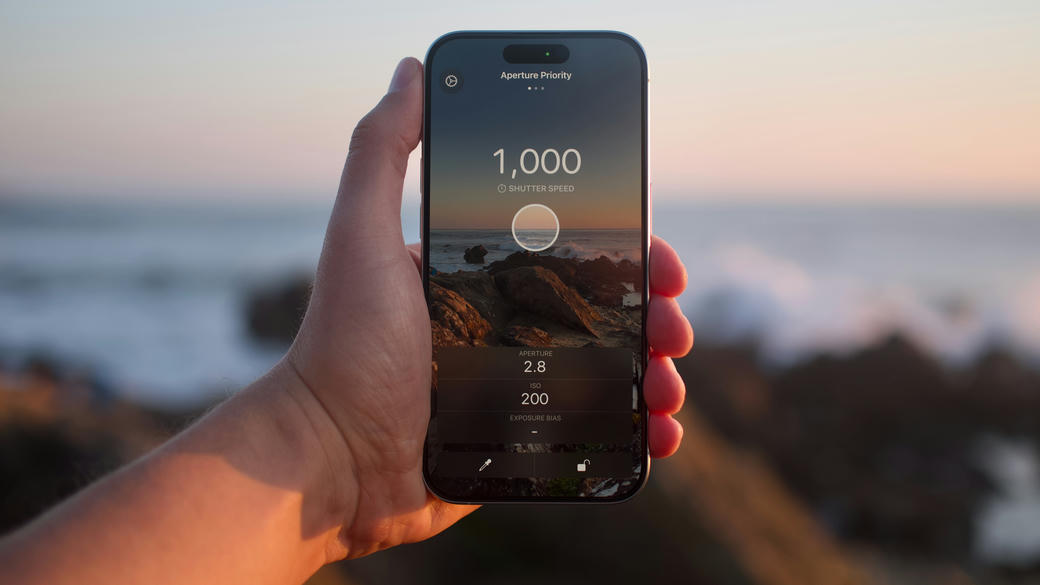
Light Meter Ultra’s large input dials and clear readings come into their own when out shooting
Unlike most of the other apps I’ve reviewed, Light Meter Ultra updates its exposure reading continuously. This can be really useful for quickly getting an idea about exposure variations in a scene. When you’re ready to input a reading, point the targeting circle at your subject and hit the lock button.
From there, you can input the displayed exposure values into your camera right away. Or, with the lock still engaged, you’re free to adjust the dials to experiement with alternative exposure values – or even modes. This unique capability gives you all the flexibility of something like an old-fashioned pinwheel interface but with none of the clutter.
There’s room to grow too, as once your camera bag grows, Light Meter Ultra allows you to create a profile for each camera, lens and film type. This ensures you only get shown exposure values that are compatible with your current equipment selection.
myLightMeter PRO
On opening myLightMeter PRO, it’s immediately apparent that a tremendous amount of care has been taken in faithfully reproducing the look and feel of a vintage pinwheel lightmeter. The luxury wood surround, the individual screws holding together the front plate – it’s a visual feast.
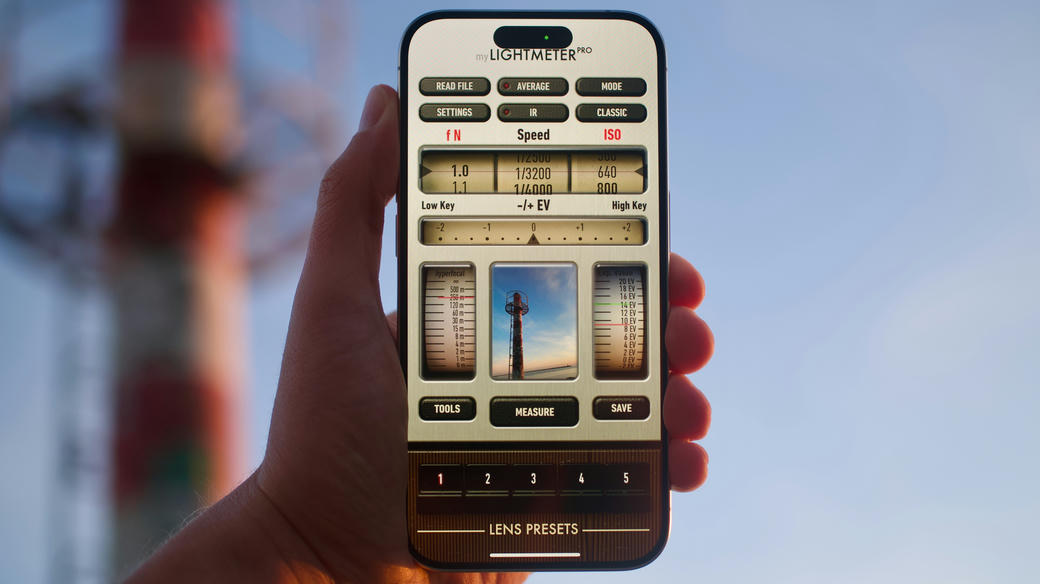
The alternative interface for myLightMeter PRO maintains the traditional look and feel of its regular mode
The only problem with a digital interface so tightly aligned to its vintage inspiration is that it can interfere with its operation – the preview in the ‘classic’ mode is smaller than the app’s own logo.
Moving into the ‘pro’ mode and you’re presented with an interface that, while similarly styled, no longer bears any resemblance to a traditional light meter. Here, the preview is similarly miniaturised, but now permits tapping into a larger preview to select a point of focus. There’s also the addition of a hyper focus scale.
In addition to the device’s natural reflective metering mode, the app offers an incidental mode. Typically, smartphones adapted to being incidental meters suffer with significant accuracy problems for reasons that I go into above. Unfortunately, myLightMeter PRO is no exception. This is tacitly acknowledged by the developer in their manual with a recommendation to ‘make your own tests’.
Unlike the rest of the apps in this round-up, myLightMeter PRO doesn’t offer a free tier, so even if you just want to try you’ll need to pay outright.
Photo Light & Exposure Meter
Taking a more minimalist approach in its metering interface is Photo Light & Exposure Meter. The top two-thirds of the screen are taken up by a spacious exposure preview that allows you to tap to select a point of focus. Below that sits the dials for selecting ISO, aperture and shutter speed.
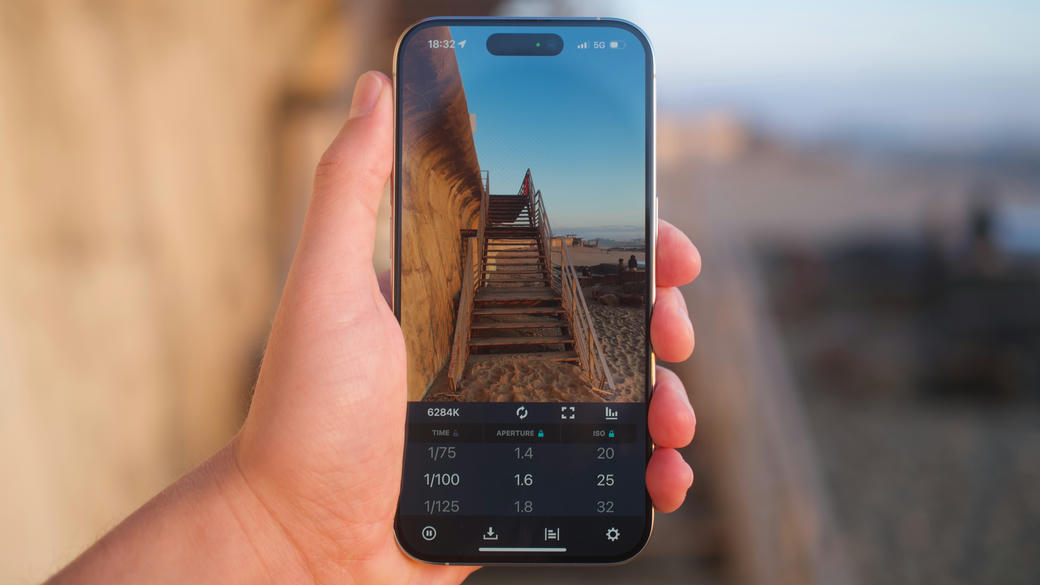
Out shooting with Photo Light & Exposure Meter
It took me some time to work out how to actually take a reading with this app. At first I felt I had unwittingly entered a game of whack-a-mole as I found myself moving dials into position and locking them, only to have them unlock again when I attempted to input another value. Tapping the ‘pause’ icon helped keep things stable long enough for me to take a reading – but it does take some getting used to.
Despite my struggles with the interface, once I was up and running the meter performed well, faithfully relaying suitable exposure values for the scene.
Lightme - Lightmeter
The first thing that strikes you about Lightme is its user interface. Much like myLightMeter PRO, Lightme has approached its interface by replicating the look and feel of a vintage light meter.
Dominating the screen on the left hand side is a pinwheel slide which shows a combination of possible exposures for the current measurement. On the right is a small preview window with a measure button. Below that are some additional dials for setting the all important ISO and exposure compensation.
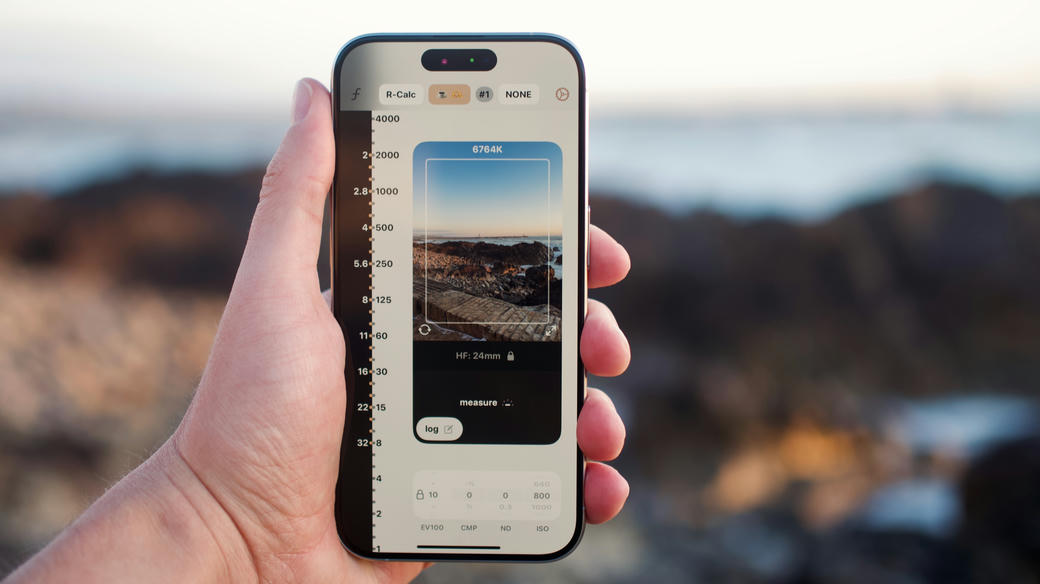
Tapping Lightme’s ‘measure’ button slides its pinwheel dials into place
Lightme does include a continuous measurement option that allows you to see the reading change as you point it at various parts of the scene, but with so many numbers moving around it can be hard to keep track of what you’re looking at.
Lightme also boasts a spot-metering mode that can be accessed by tapping on the preview window. Unfortunately, in my testing of version 2.5.4, the reading suffered from up to 2-stop deviations from middle grey which makes this unsuitable for typical spot-metering applications.
Likewise, the incident mode suffers from the same limitations as myLightMeter PRO and so I would avoid these functions completely.
Lightmate
From maximalist to minimalist. Lightmate benefits from an edge-to-edge exposure preview that makes it easy to get a sense of your exposure. The requisite exposure values are pinned to the right side of the screen and can be adjusted by swiping to the left or right.
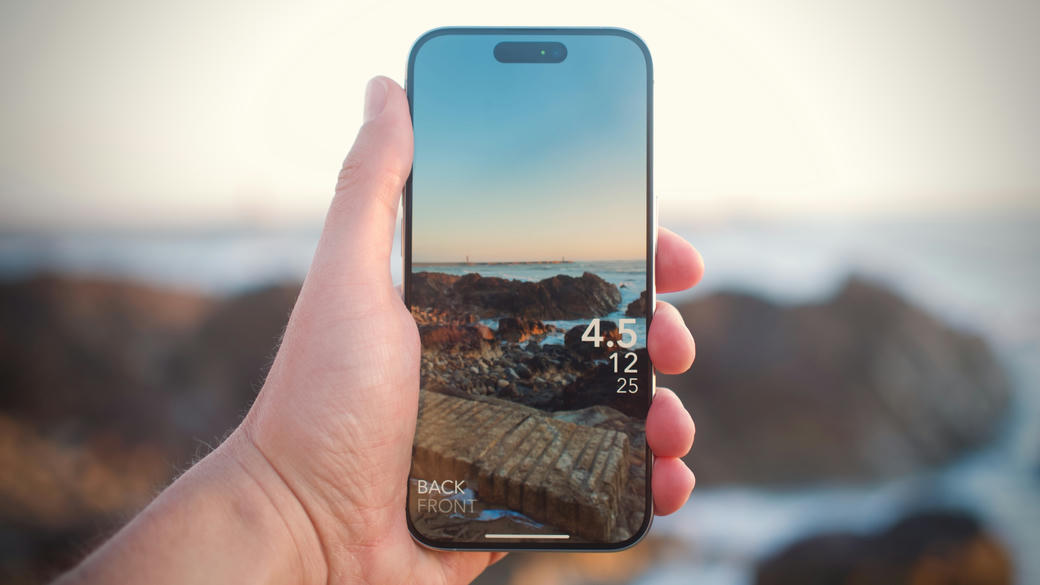
Lightmate: the most minimalist of all the meters we tested
As helpfully explained by the app onboarding on first run, the app operates in an either aperture or shutter priority mode. Tapping the aperture value engages the aperture priority mode, locks the aperture value to your selection, and leaves the shutter speed to free float according to exposure conditions. Likewise, tapping the shutter speed value engages the shutter priority mode.
Lightmate peforms well as a light meter just as long as your equipment marries to its particular setup; there’s no option here for increments other than half-stops, and there’s no way to constrain your values to minima and maxima other then the defaults.
Still, for a free light meter, it provides a great amount of value.
Recommendation
Best Light Meter App for Film Photography: Light Meter Ultra
Not only is Light Meter Ultra the most intuitive and easy-to-use light meter, but it also packs an incredible amount of power. Its interface delivers all the flexibility of a pinwheel interface, but with none of the visual overwhelm. Its large exposure preview makes assesing a scene a cinch, and its large dials and quick-swipe mode changes mean you’re less likely to miss a shot.
Light Meter Ultra is an indispensable tool that every photographer should have installed on their phone.
Of course, as one of the developers that works on Light Meter Ultra you’d be well within your rights to think I’m less than impartial. Luckily though, you don’t need to take my word for it. Download Light Meter Ultra today, take advantage of the free trial, and see for yourself.
Happy shooting!